5 Tips for Organizing Your Digital Photos

If you're like most of us, you probably have a memory card filled with photos from these past few months... hundreds of photos of holiday parties, family gatherings, and vacation getaways... on top of the hundreds of other photos you never got around to downloading. Digital cameras and iPhones, especially, make it way too easy to take way too many photos and before you know it, you have to clear your iPhone library to make more room.
But how to keep these photos from taking over your hard drive, never to be looked at again? Take these five tips from us for managing your photos more effectively:
Tip #1: First, get them off your memory card.
We've all been there: You see the perfect shot while you're out one day, set up to take the photo, click the shutter, and then... "Your memory card is full" appears on the screen. You spend the next 10 minutes scrolling through photos, trying to decide which ones to delete to make space for more photos. Before it happens again, resolve to download your photos regularly -- either right after a trip, when you've still got vacation high and are eager to relive the memories, or once every week, as part of your Sunday morning routine.
Tip #2: Organizing starts with cleaning.
Rather than doing a file dump on your computer and moving on with the next project, take the time to go through your photos and delete any that don't need to be there: anything with duplicates, eyes closed, out of focus, too bright, too dark. This will also help you sort through the photos more easily when you want to make prints from a worthy selection of shots.
Tip #3: Import your files into photo management software.
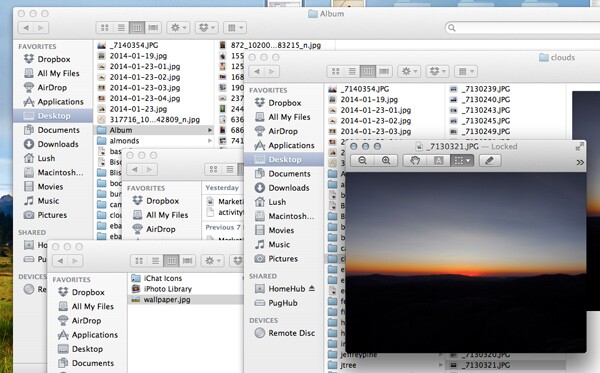
iPhoto (for the occasional user) and Adobe Lightroom (for the power user) are two good choices for sorting, editing, and managing your files all in one place. If you haven't already, develop a naming system that makes sense to you: by year and month, or by year and destination, and then set the software to sort your albums chronologically.
Tip #4: Back up your photos off-site.
If you download hundreds of high-resolution photos at a time, that 1 terabyte drive in your system will fill up faster than you think. Keep them from taking over your computer by backing the files up to a cloud service or online gallery, such as iCloud, Dropbox, Flickr, or even a general computer backup service like Carbonite or Mozy. At the very least, move your photos to an external hard drive (ideally with automatic mirrored backup) to save space.
Tip #5: Make them tangible.
Don't you sometimes miss the days of taking your film in to get processed, and then coming home with an envelope full of prints you can hold in your hands? Somehow, prints make your photos feel more special. Get in the habit of printing a few of your favorites each time you sort through your photos to either send to a friend, hang on the wall, or stick to the fridge. Shutterfly and Artifact Uprising allow you to make prints, books, and calendars from your image files, and many other services and apps (like Printstagram and Stickygram) let you print Instagram shots directly from your phone and onto a variety of media.